


I was dreaming of the past.
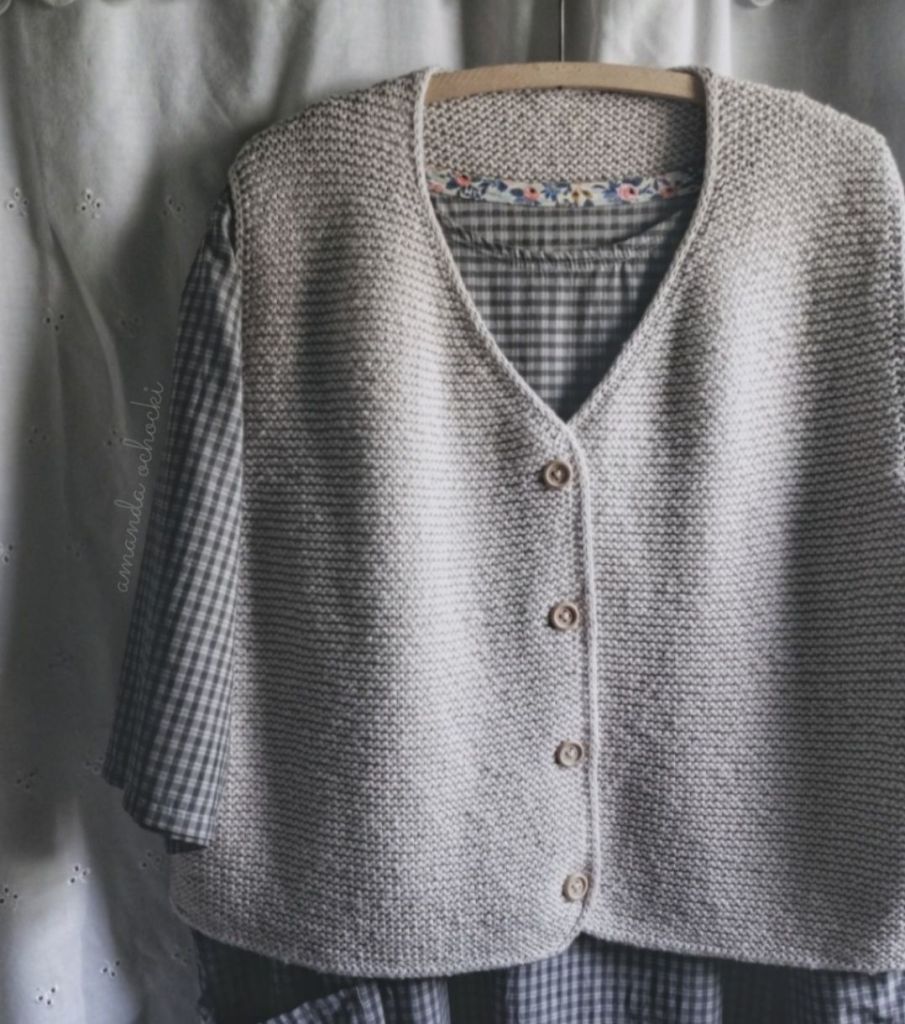
I was recovering from the trauma of knitting a lace weight Thinking Cap and was knuckles deep in an all consuming Oslo Hat phase when I first saw the Musselburgh pattern. Curious about its construction, I bought the pattern in 2020 and subsequently tucked it away for the future. I finally got around to making my first one a year or so later and just now another. I can’t help but love an unfussy looking hat, and I say “unfussy looking” fully knowing parts of these hats are fussy as hell. There is a beautiful satisfaction for me in a knit that is minimal and unassuming, almost like you could run out to any shop and pick one up ..but you can’t, you never could, never this color, never this fit, never this custom, never on a hot summers day. Only if you’re a knitter, a maker, a crafts person do you know the time and attention it took to get here. Only then could you, if you wanted to, spend more time and more money than most would making yourself one. That’s one of the best things, it’s why skill costs money, and if your getting my skill for free, it’s because I really like/love you. Otherwise it’s always a no.
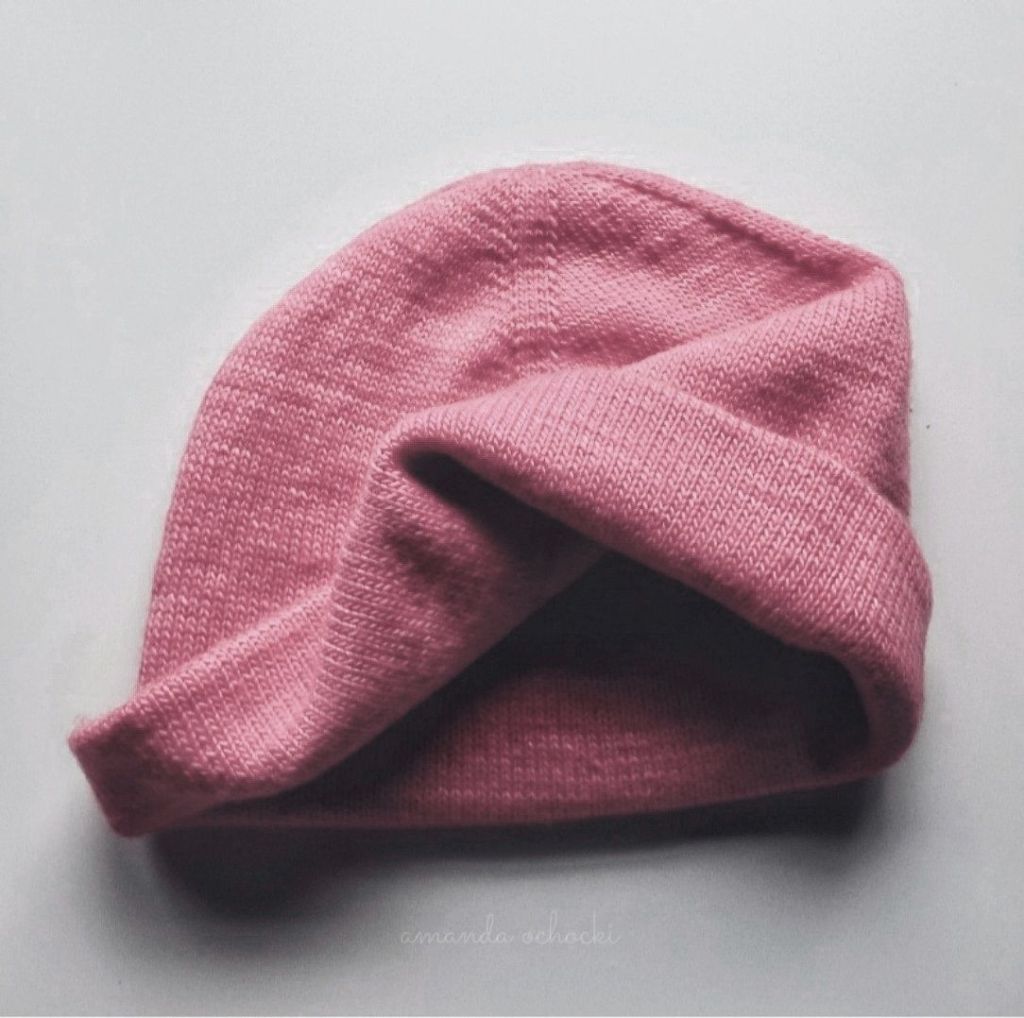
This pattern is an any yarn, swatch/check gauge as you knit hat. It begins with a center out/pinhole cast on, working increases for the crown of the hat (this bit need some focus), hours of knitting round and round for the body (super easy part), then decreases again for the opposite crown (again needs a bit of focus). Resulting in a long rounded tube that gets stuffed inside of itself to form a hat, double thick with a fold up brim. I save the beginning and ending sections for semi quiet times when I can pay attention and leave that breezy middle section for anywhere, anytime mindless knitting.
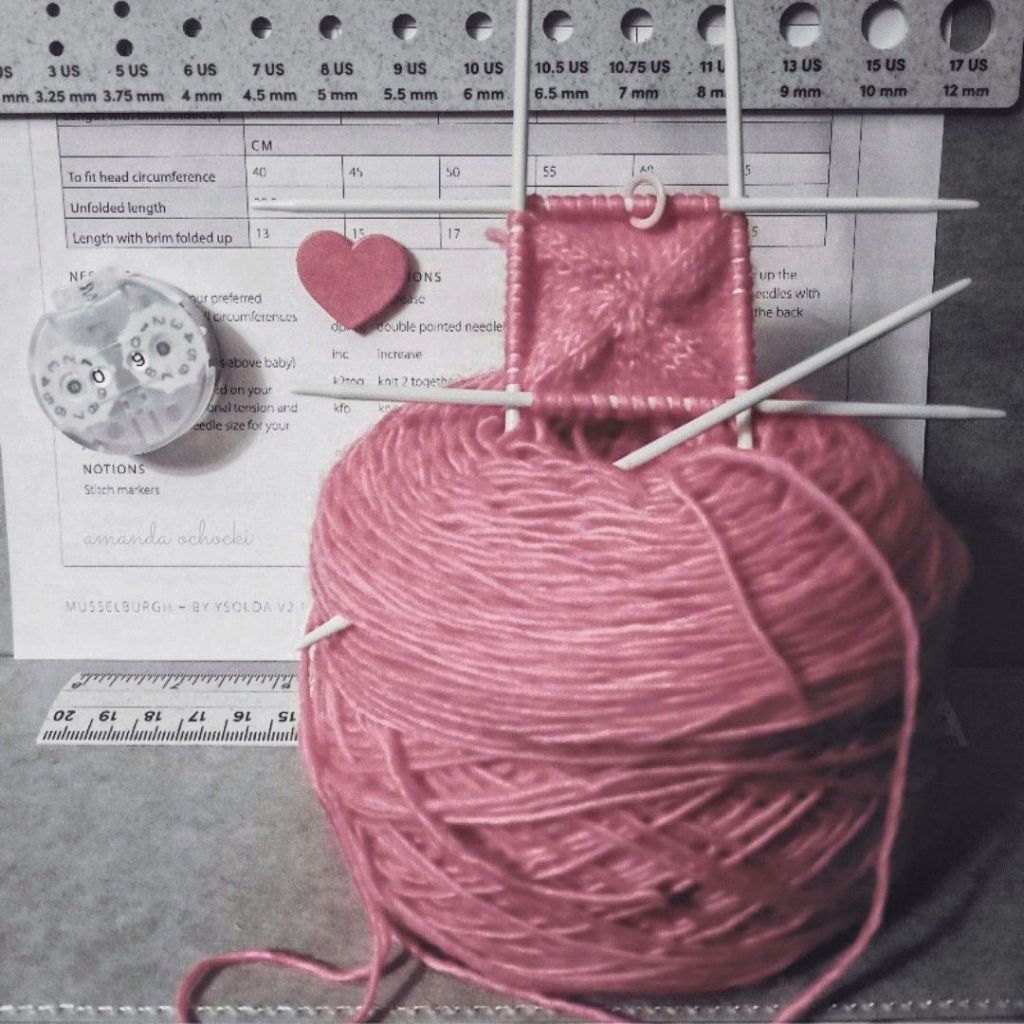
I started by weighing my freshly caked yarn, 108g. I did this because I only had one skein of this cute pink yarn and the adult large size that I wanted to make required 100 more yards than I had. I decided I would just shorten the middle section so I didn’t accidentally run out of yarn. To do that accurately I weighed my yarn after finishing the beginning increases, 98g. Then taking the starting weight and subtracting the current weight (108g – 98g = 10g) I now knew the increases used 10g of yarn and I needed to be sure and save the same amount (10g) for the opposite end decreases. This let me confidently knit away on the middle, weighing the cake occasionally as I crept closer to that 10g mark, switching over to decreases once there. I think I would still do this even if I had enough yardage, it really utilizes every bit of yarn. You could also incorporate other colors to make up the difference, the pattern has lots of tips and suggestions for color changes, stripes and the like.
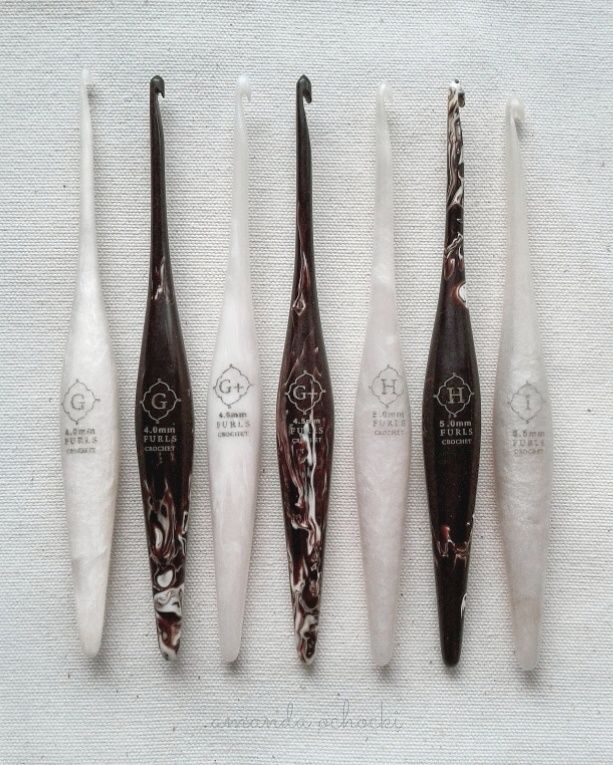
I cast on with the larger of the recommend needle sizes for my fingering weight yarn, you should go with a size that gives you a fabric you like. Remember it will be double thick all over and four times thick if you fold up the brim. I chose a US#2 / 2.75mm and was getting 8sts per inch.
I also started with dpns, then switched to 16″ circulars for the body, then back to dpns. This was the least frustrating for me, I tried Magic Loop for the cast on and struggled.
The Musselburgh pattern is available on the designers website ysolda and ravelry.
Yarn is deep stash Madelinetosh, back when sale skeins were $13 and they would offer odd singles of one off colors. This is pretty bubblegum meets Molly Ringwald has no name.
Currently I’m feeling very sentimental, a smidge hormonal and embracing my baby era, not like having babies, fuck no, baby era as in I can’t put my emotions to words, so I just start crying. I’m also itchy, rosy cheeked and newly 50. Don’t worry I’m good, but it’s a weird time to say the least.
💕