A few of my recent projects, all for loves sake


“Merry Heart”


“Candy Badges”

“Hearts Potholder”
HAPPY VALENTINES DAY! HEY LOVE YOU!
A few of my recent projects, all for loves sake
“Merry Heart”
“Candy Badges”
“Hearts Potholder”
HAPPY VALENTINES DAY! HEY LOVE YOU!
LADIES & GENTS, TIME TO GET YOUR POTHOLDERS ON!

These were my submissions for last year’s potholder swap (2011). I made cathedral window potholders, they have a bit of a modern vintage feel, which I love.
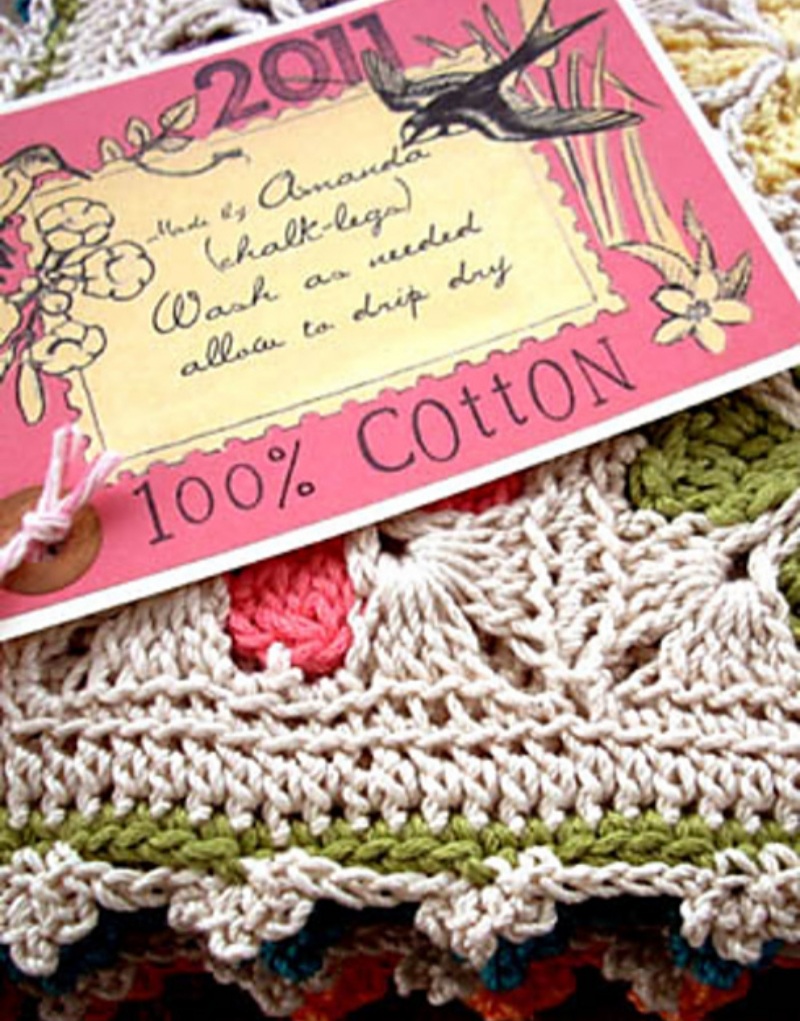
There are Ravelry forums full of fun chatter & photos for the upcoming 2012 swap here.
Watches, all shapes, all sizes, but mostly Swatch.

It began for me in the late 80’s, I was a teen with some extra christmas money and a fateful trip to Daytons in the mall. I remember they only had a few styles to choose from, ideally I wanted 2 so I could wear them at the same time, but they were around $40 EACH! Damn that is almost all my cash! Ok, I‘ll take the black one with the little moon & house. So the obsession began. Later my husband added to my collection by giving me that lovely pale pink Irony…

20+ years later, I now have a collection and just this past Christmas I bought my daughter her first swatch (Touch) and as a teen with extra Christmas money and a fateful trip the Mall of America (which happens to have a full SWATCH store) she used her extra cash to by a 2nd swatch and just like me she had a tough time choosing the perfect one.
